Walk up to your front door on a cold Winchester morning and feel along the edges. Do you notice a draft? Can you see daylight peeking through the gaps? When the wind blows, does cold air whistle through? If so, you’re literally throwing money out the door—and inviting moisture, pests, and uncomfortable drafts into your home.
Door weatherstripping is one of the simplest, most cost-effective energy improvements you can make. Yet during home inspections throughout Winchester and the Shenandoah Valley, I regularly find doors with worn, missing, or inadequate weatherstripping that wastes energy and reduces home comfort.
Why Door Weatherstripping Matters
Your home’s entry and exit doors—front doors, back doors, patio doors, and garage entry doors—are major sources of air leakage. Even small gaps around doors add up to significant energy loss:
Energy Waste: According to the Department of Energy, air leaks around doors and windows account for 25-30% of heating and cooling costs. In Winchester, where we run heat for 5-6 months and air conditioning for 3-4 months, that’s substantial money wasted year-round.
Comfort Issues: Drafty doors create cold spots near entryways, make rooms uncomfortable, and force your HVAC system to work harder maintaining consistent temperatures.
Moisture Intrusion: Gaps allow rain and snow to enter, damaging flooring, causing rot, and creating conditions for mold growth.
Pest Entry: Insects, rodents, and other pests exploit even tiny gaps around doors. A gap as small as 1/4 inch is an open invitation.
Noise Pollution: Weatherstripping provides acoustic insulation, reducing outside noise from traffic, neighbors, and street activity.
What Home Inspectors Look For
During inspections, I evaluate all entry and exit doors for:
Weatherstripping Condition:
- Compression—worn, flattened, or hardened weatherstripping that no longer seals
- Gaps or missing sections along door edges
- Cracked, torn, or deteriorating materials
- Improper installation or wrong weatherstripping type
- Age-related failure (most weatherstripping lasts 5-10 years)
Door Sweep Effectiveness:
- Worn or missing door sweeps at bottom edges
- Excessive gap between sweep and threshold
- Damaged or detached sweeps
- Wrong sweep type for door and threshold combination
Door Alignment:
- Doors that don’t close fully or latch properly
- Warped or sagging doors creating uneven gaps
- Hinge problems preventing tight seals
- Threshold damage or settlement creating gaps
Visual Gap Assessment:
- Daylight visible around closed doors
- Inconsistent gap widths around perimeter
- Larger gaps at corners (common problem areas)
Functional Tests:
- Dollar bill test (close door on paper—should require firm pull to remove)
- Visual inspection with flashlight from inside with exterior lights on
- Feel for drafts on windy days
Types of Weatherstripping for Doors
Different doors and situations require specific weatherstripping types:
Adhesive-Backed Foam Tape:
- Best for: Rarely opened doors, lightweight doors, temporary fixes
- Pros: Inexpensive ($5-$15), easy DIY installation
- Cons: Least durable (1-3 years), compresses permanently, doesn’t handle movement well
- Winchester application: Secondary doors, storm doors, rarely-used basement entries
V-Strip (Tension Seal):
- Best for: Door sides and tops, double-hung windows
- Pros: Durable (5-10 years), nearly invisible, handles door movement well
- Cons: More challenging installation, requires clean surface
- Winchester application: Excellent for historic home front doors where appearance matters
Tubular Rubber or Vinyl:
- Best for: Door sides and tops on frequently used doors
- Pros: Very durable (7-10 years), excellent seal, handles temperature extremes
- Cons: More visible, moderate cost ($15-$30 per door)
- Winchester application: Front doors, high-traffic entries, doors exposed to weather
Door Sweeps:
- Best for: Bottom edge of doors
- Types: Adhesive-backed, screw-mounted, under-door sweeps
- Pros: Excellent bottom seal, blocks pests and light
- Cons: Can drag on carpeting, may need adjustment
- Winchester application: All exterior doors, especially those with worn thresholds
Reinforced Silicone:
- Best for: Extreme weather exposure, high-traffic doors
- Pros: Extremely durable (10+ years), superior seal, temperature-resistant
- Cons: Higher cost ($25-$40 per door), professional installation recommended
- Winchester application: North-facing doors, patio doors, high-wind exposure areas
Magnetic Weatherstripping:
- Best for: Metal doors, storm doors
- Pros: Excellent seal, self-aligning, very durable
- Cons: Only works with metal doors, expensive ($30-$50)
- Winchester application: Steel entry doors, security doors
Patio and Sliding Door Considerations
Patio doors present unique weatherstripping challenges:
Sliding Glass Doors:
- Require specialized pile weatherstripping along sliding edges
- Need compression seals where panels meet when closed
- Bottom track requires regular cleaning for proper seal
- Rollers must be adjusted for even pressure against weatherstripping
- Common problem: Worn pile weatherstripping allowing air and water infiltration
French Doors (Hinged Patio Doors):
- Each door needs perimeter weatherstripping like standard entry doors
- Astragal (center seal where doors meet) is critical and often neglected
- Active door (opens first) and passive door require coordinated sealing
- Bottom sweeps must clear thresholds while still sealing
Common Patio Door Issues in Winchester Homes:
- Sun exposure degrades weatherstripping faster (south and west-facing doors)
- Seasonal expansion/contraction affects seal quality
- Heavy use accelerates wear
- Water pooling on tracks during rain (drainage weep holes clogged)
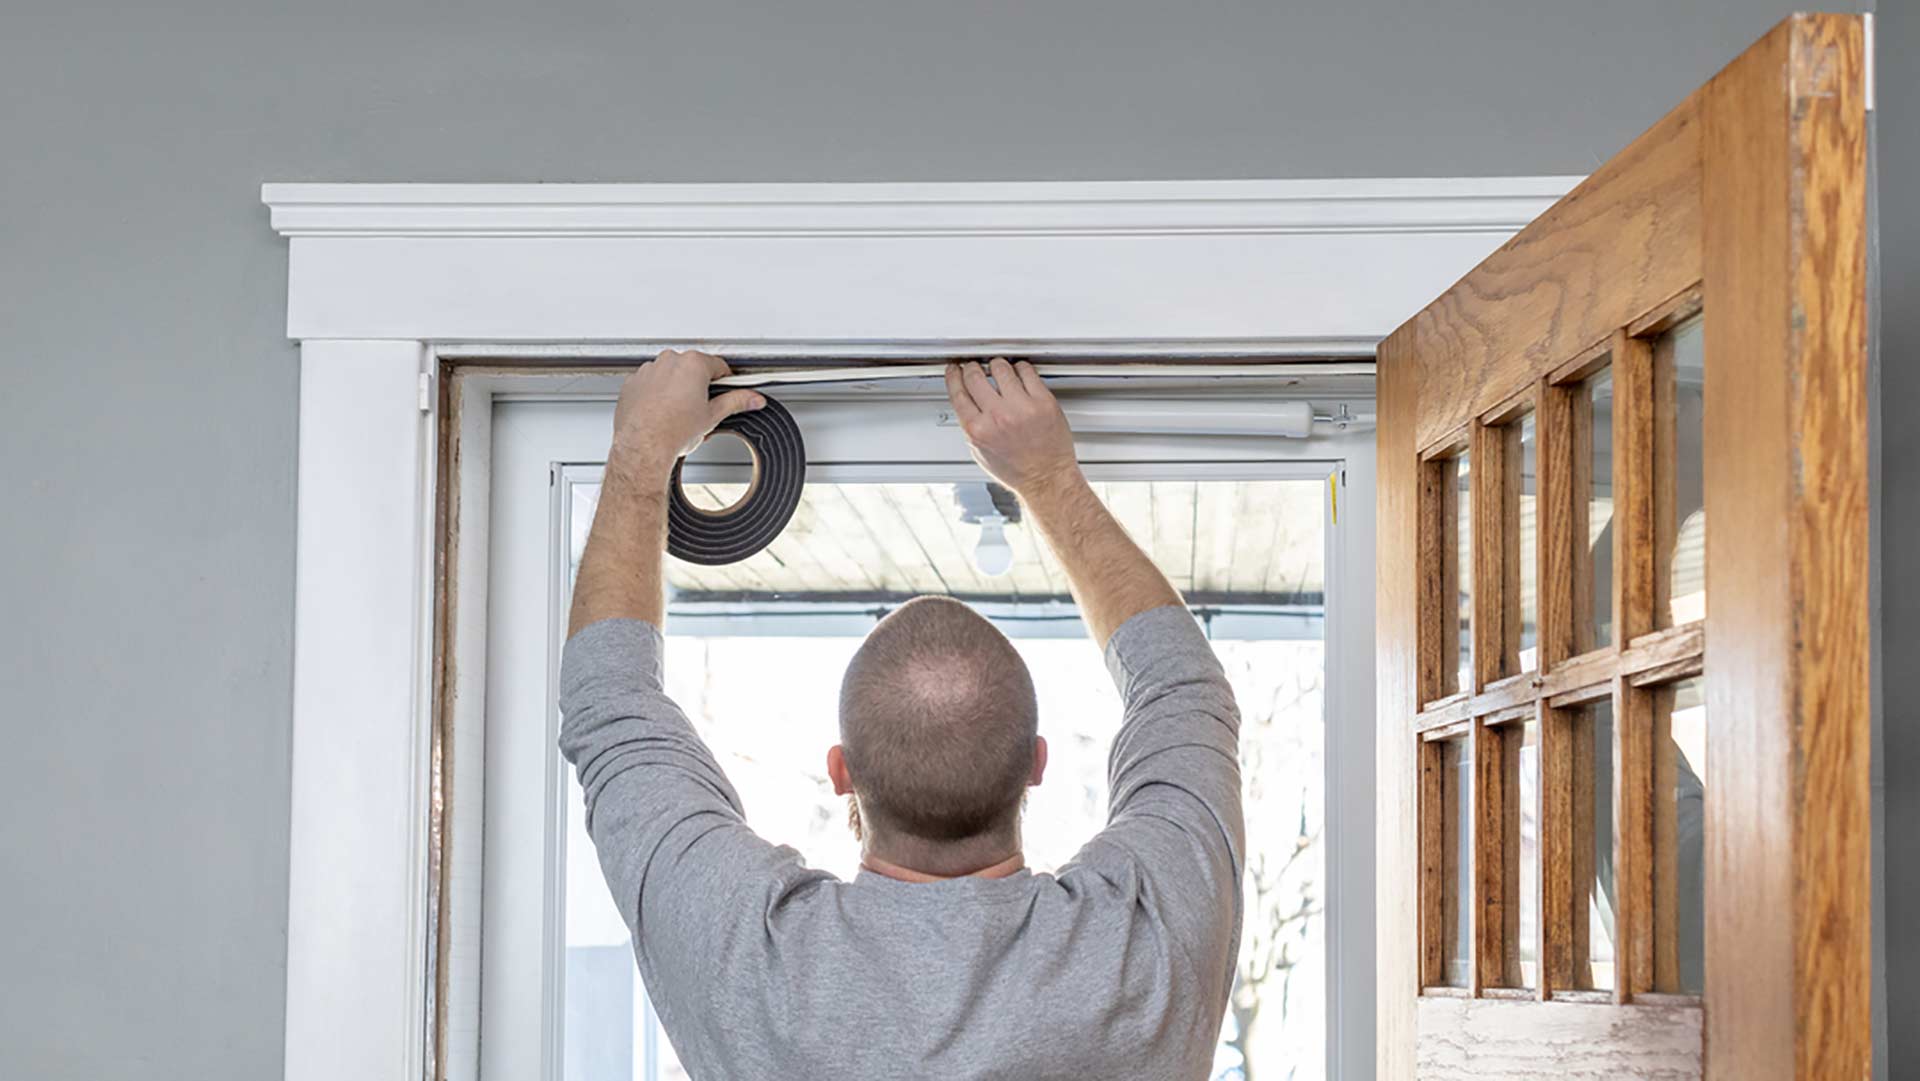
Step-by-Step: Installing Door Weatherstripping
Materials Needed:
- Weatherstripping (appropriate type for your door)
- Measuring tape
- Scissors or utility knife
- Screwdriver (for screw-mounted types)
- Cleaning supplies (soap, water, rubbing alcohol)
- Hammer and nails (for certain types)
Installation Process:
- Remove old weatherstripping: Peel away old material completely and clean adhesive residue with rubbing alcohol.
- Clean surfaces thoroughly: Weatherstripping won’t adhere properly to dirty, dusty, or oily surfaces. Clean door frame edges with soap and water, then wipe with rubbing alcohol. Let dry completely.
- Measure carefully: Measure each side of the door frame separately—don’t assume they’re identical. Cut weatherstripping slightly long (you can trim excess easily).
- Start at the top: Install the top piece first for best results. For adhesive types, peel backing gradually as you press into place, ensuring consistent contact. For screw-mounted, pre-drill holes if needed.
- Install sides: Work from top to bottom, maintaining consistent compression. The weatherstripping should compress slightly when the door closes but not prevent proper latching.
- Add door sweep: Measure door width, cut sweep to size, and attach according to manufacturer instructions. Adjust height so it seals against the threshold without dragging excessively.
- Test and adjust: Close door and check for even compression around entire perimeter. Light should not be visible. Adjust as needed.
Pro tip: Install weatherstripping when temperatures are moderate (50-70°F). Extreme heat or cold affects material flexibility and adhesive performance.
Door Threshold and Sill Maintenance
Weatherstripping is only half the equation—the threshold matters too:
Adjustable Thresholds: Many modern thresholds have adjustment screws allowing you to raise or lower sections for optimal door sweep contact. Turn screws clockwise to raise, counterclockwise to lower. Adjust until door sweep makes even contact across entire width.
Damaged Thresholds: Wood thresholds rot from water exposure. Aluminum and vinyl thresholds crack or warp. Damaged thresholds prevent proper sealing regardless of weatherstripping quality. Replace damaged thresholds promptly (cost: $25-$75 DIY, $150-$300 professionally).
Drainage Weep Holes: Storm doors and some patio doors have small drainage holes in thresholds or bottom tracks. Keep these clear—clogged weeps cause water backup and leaks. Clean with thin wire or compressed air quarterly.
Seasonal Weatherstripping Strategy for Winchester
Our four-season climate requires thoughtful weatherstripping management:
Fall Preparation (October-November):
- Inspect all doors before heating season
- Replace worn weatherstripping
- Test door sweeps and adjust thresholds
- Clean and lubricate patio door tracks
- Check storm doors for proper operation
Spring Maintenance (April-May):
- Inspect for winter damage
- Clean away salt residue and debris
- Adjust thresholds if seasonal expansion affects sealing
- Prepare for air conditioning season
Summer Considerations:
- UV exposure degrades rubber and vinyl—monitor south and west-facing doors
- Heat can cause adhesive failure—reattach as needed
- High humidity may cause door swelling—adjust clearances
Winter Watch:
- Check for ice buildup preventing door closure
- Monitor condensation (indicates air leaks)
- Ensure sweeps don’t freeze to thresholds
When to Call a Professional
Most weatherstripping is straightforward DIY, but call professionals for:
Door Adjustment Issues:
- Doors that don’t close properly due to settling, hinge problems, or warping
- Significant gaps requiring door planing or threshold replacement
- Patio doors needing roller or track adjustment
Extensive Rot or Damage:
- Rotted door frames requiring carpentry
- Structural issues preventing proper door operation
- Threshold replacement on complex installations
Energy Audit Integration:
- Professional assessment of overall air sealing needs
- Blower door testing to quantify improvements
- Coordinating door sealing with broader weatherization
Return on Investment
Weatherstripping all exterior doors typically costs $100-$300 for DIY or $300-$600 professionally. Energy savings of 10-15% on heating and cooling bills mean payback within 1-2 years for most Winchester homes. Add improved comfort, reduced drafts, and pest exclusion, and it’s one of the best home improvement investments you can make.
Bottom Line
Door weatherstripping is simple, affordable, and immediately effective. On your next cold day, walk around your Winchester home and check every exterior door. If you feel drafts or see light, you’re wasting energy and money. A few hours and modest investment in proper weatherstripping pays dividends in comfort and lower utility bills for years to come.
Don’t let another Shenandoah Valley winter or summer slip by while your conditioned air escapes around poorly sealed doors. Take action now and enjoy a more comfortable, efficient home.